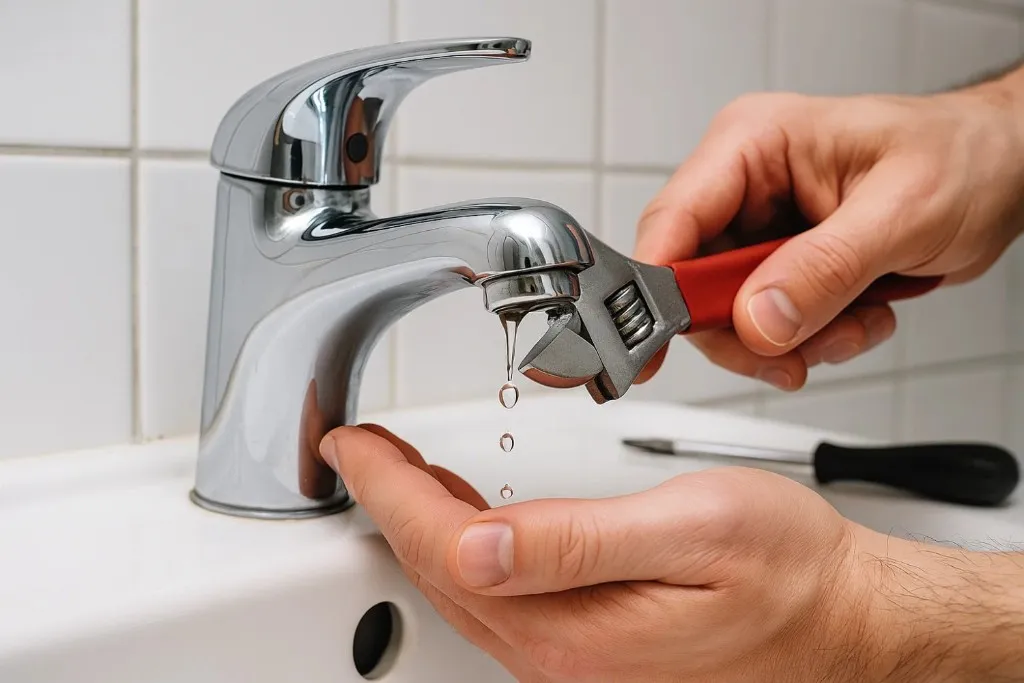
A leaky faucet is one of the most common household issues, and it often starts small, with just a drip here and there. However, what seems like a minor annoyance can quickly turn into a bigger problem, wasting both water and money over time. The good news is, fixing a leaky faucet is often easier than you might think.
With a few basic tools, a little patience, and the right approach, you can repair your faucet and restore your peace of mind in just a matter of minutes. This article will walk you through quick and easy solutions to fix that pesky drip, saving you both time and money in the process.
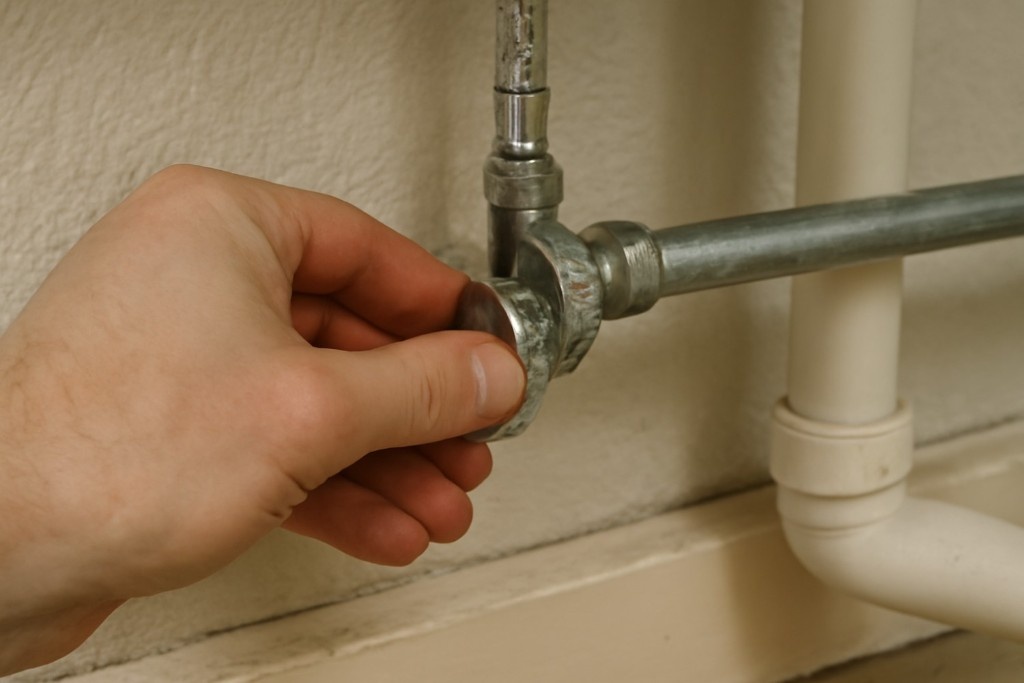
1. Turn Off the Water Supply
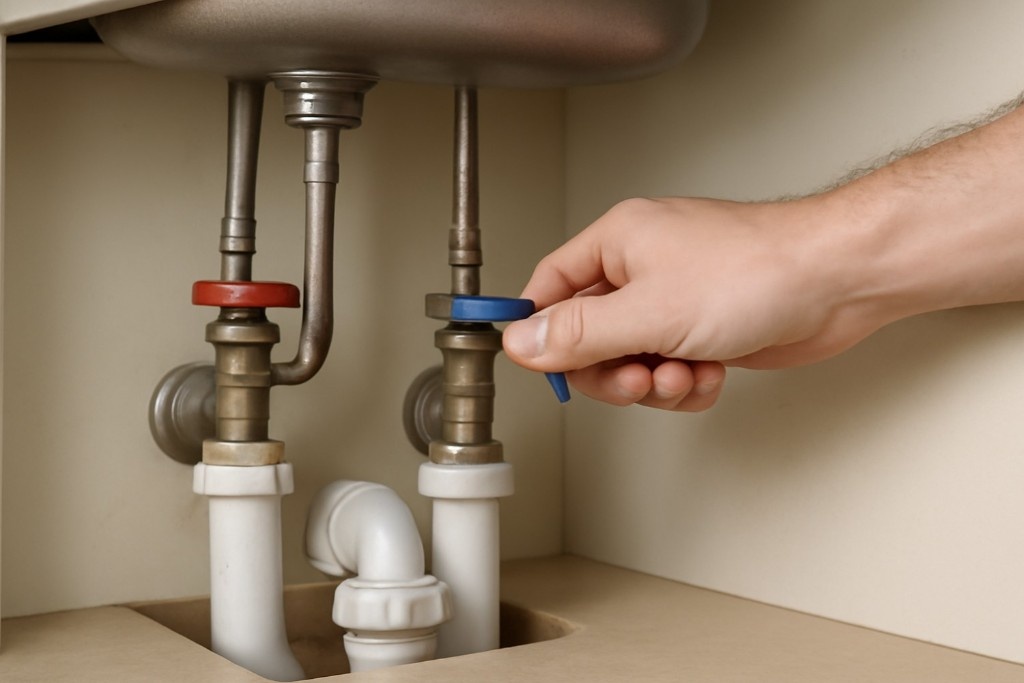
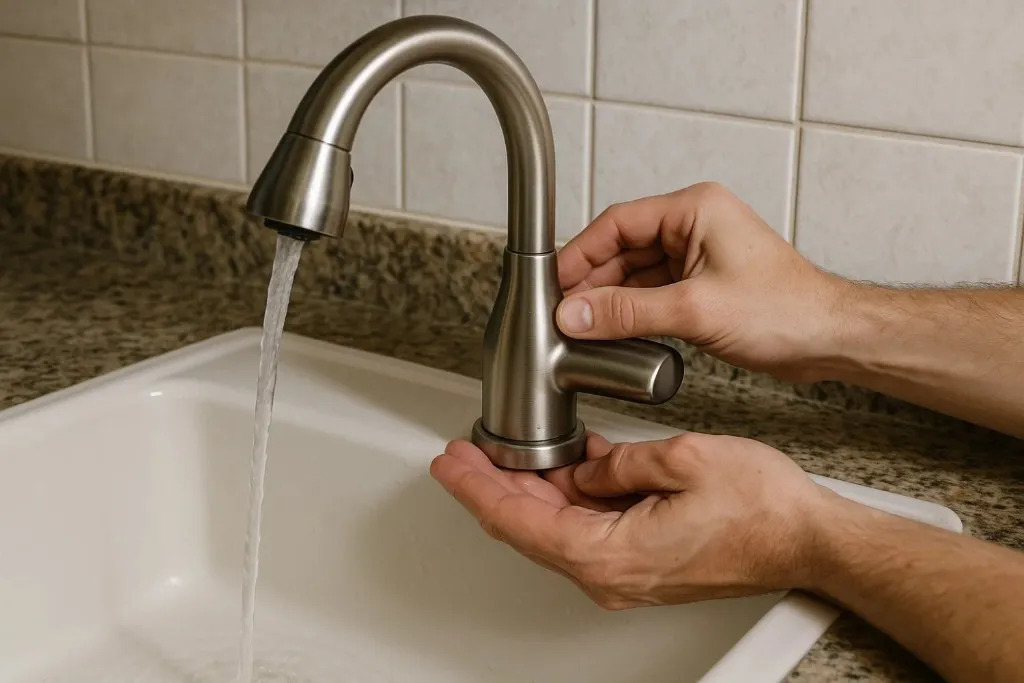
Before you begin fixing a leaky faucet, ensure the water supply is turned off to avoid any unwanted splashes or accidents. Locate the shut-off valves beneath the sink. Most faucets will have individual valves for both hot and cold water. If you can’t find them or they aren’t working properly, you may need to shut off the main water supply to the house. After turning off the water, turn on the faucet to drain any remaining water and relieve pressure in the pipes. This step is critical to ensuring a safe and mess-free repair process.
2. Identify the Type of Faucet
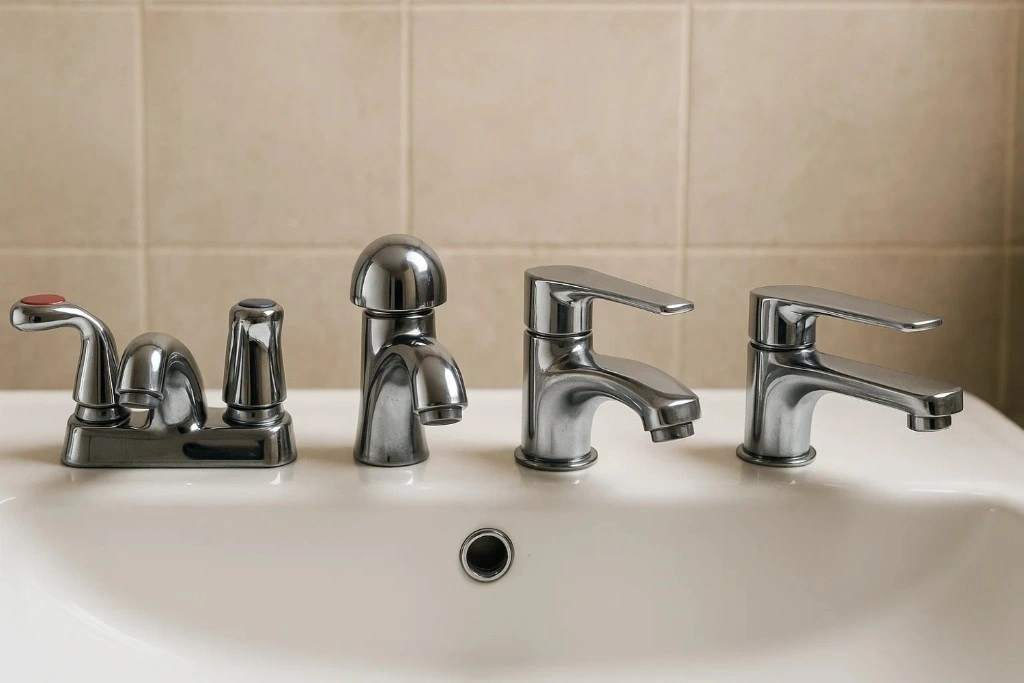
Different types of faucets require different methods of repair, so it’s essential to identify what kind you have. The four main types are compression, ball, cartridge, and ceramic disk faucets. Compression faucets often have separate handles for hot and cold water, while ball faucets are single-handled with a ball mechanism inside.
Cartridge and ceramic disk faucets are typically also single-handled, but the mechanism differs. Knowing your faucet type will guide you in selecting the appropriate tools and replacement parts. Each type of faucet has its specific weaknesses, and understanding these can help you make the right repair decisions.
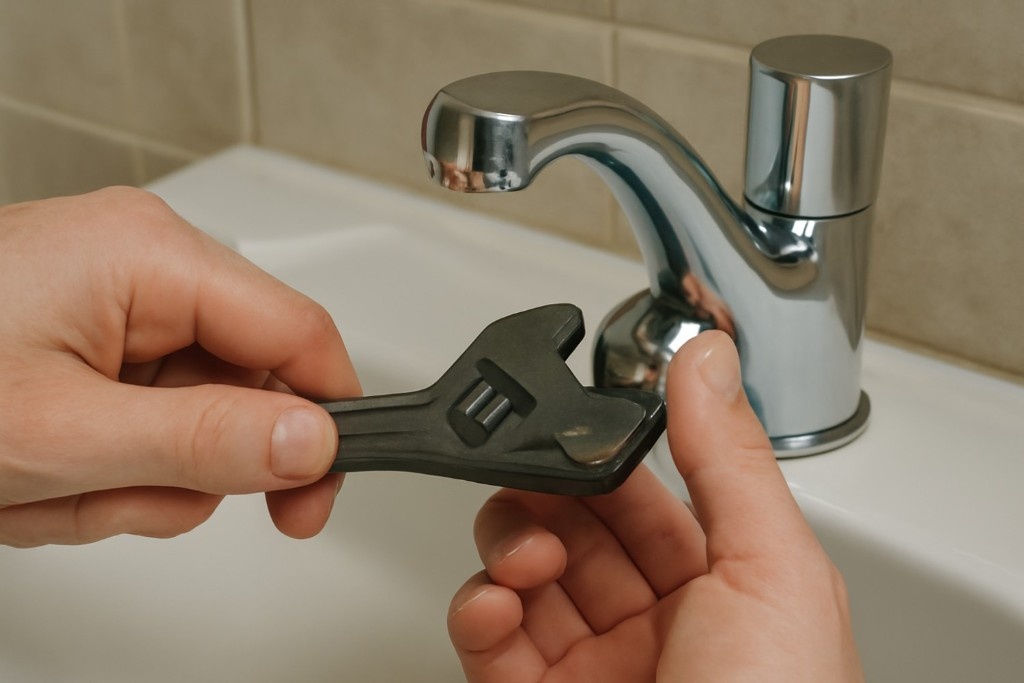
3. Gather the Right Tools
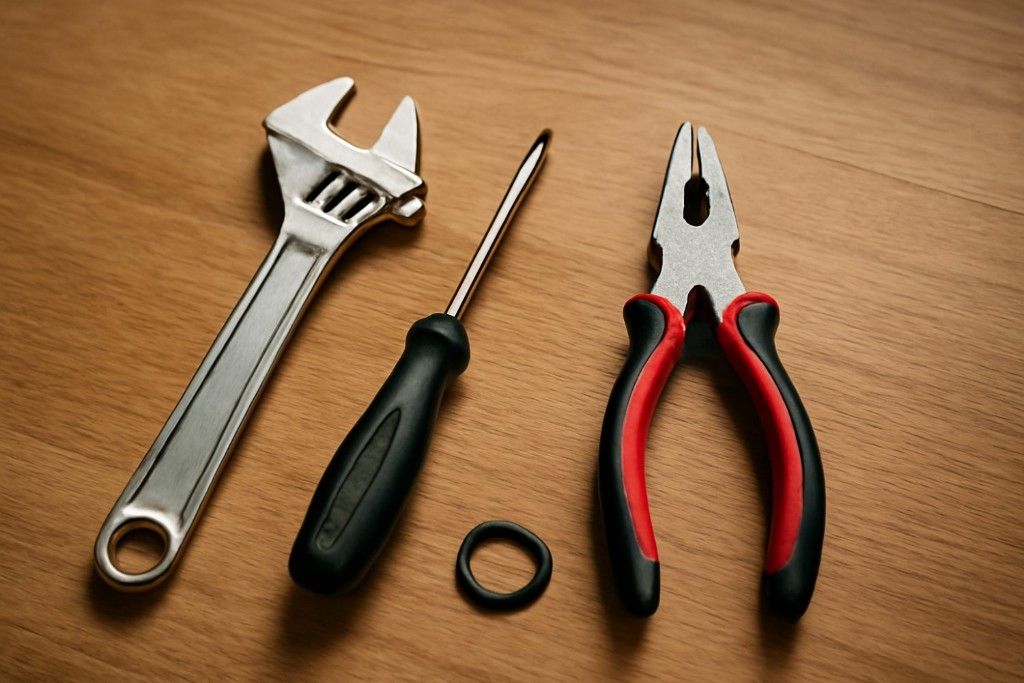
To fix a leaky faucet, gather a few basic tools before starting the repair process. You’ll need an adjustable wrench, a flathead screwdriver, pliers, and possibly a replacement washer or O-ring. If you’re working with a faucet cartridge or ball faucet, ensure you have the correct replacement part in hand.
These parts can often be found at local hardware stores. Having all your tools and replacement parts ready will save time during the repair and prevent unnecessary trips to the store. Make sure your tools are in good working order to avoid delays or complications.
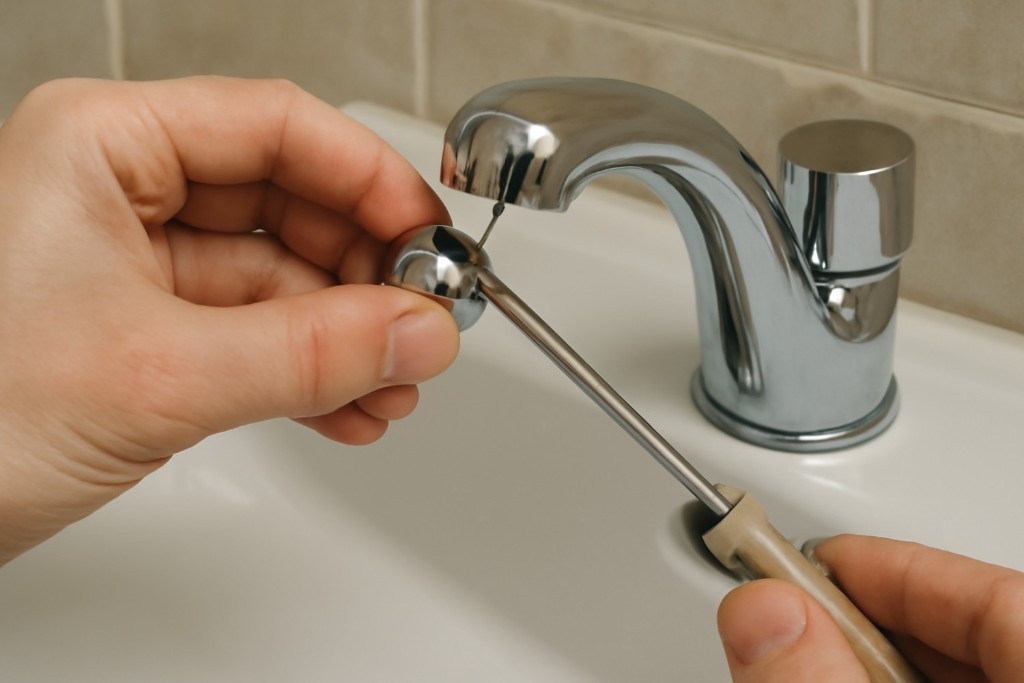
4. Disassemble the Faucet

After turning off the water and gathering your tools, it’s time to disassemble the faucet. Most faucets will have a decorative cap that hides the screw holding the handle in place. Use a flathead screwdriver to remove the cap and then unscrew the handle.
With the handle removed, you may need to use an adjustable wrench to unscrew the inner parts of the faucet. Keep track of each component as you remove it, as the order and arrangement are essential when reassembling the faucet. This step will expose the valve and other internal parts that might be causing the leak.
5. Check for Damaged Washers or O-Rings
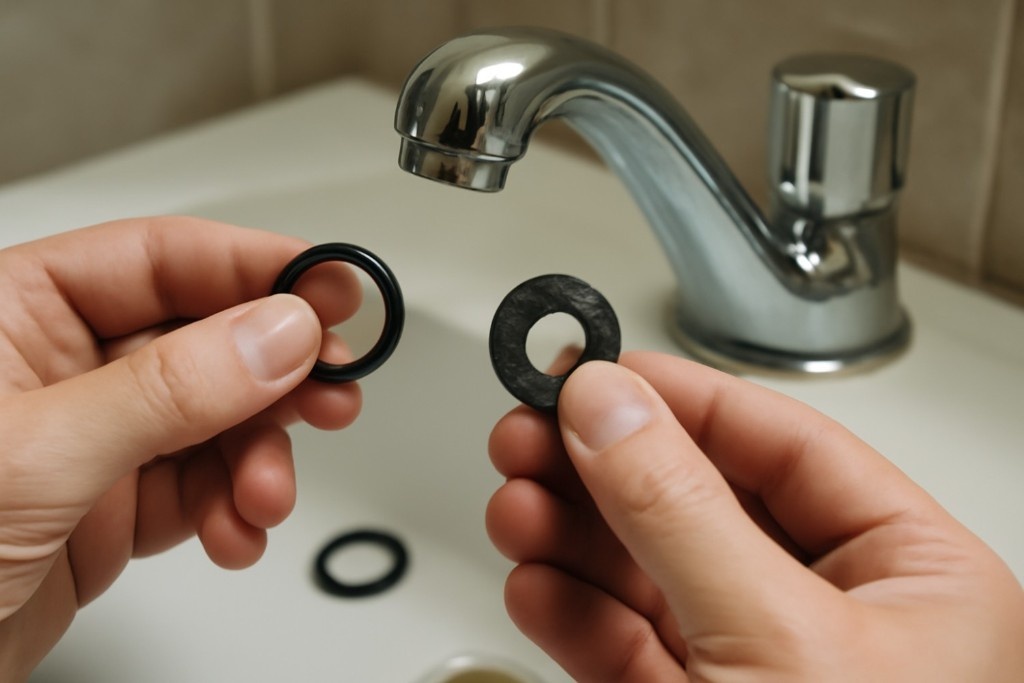
A common cause of faucet leaks is a damaged washer or O-ring. These small rubber or plastic components create seals that prevent water from leaking through the faucet. Over time, these parts can wear out, crack, or become brittle, leading to leaks.
Inspect the washers or O-rings for any visible signs of wear. If you notice any cracks, missing pieces, or signs of corrosion, it’s time to replace them. Head to your local hardware store to find a replacement that matches the size and material of the original part. Replacing these small components can often solve the leak.
6. Inspect the Valve Seat for Corrosion
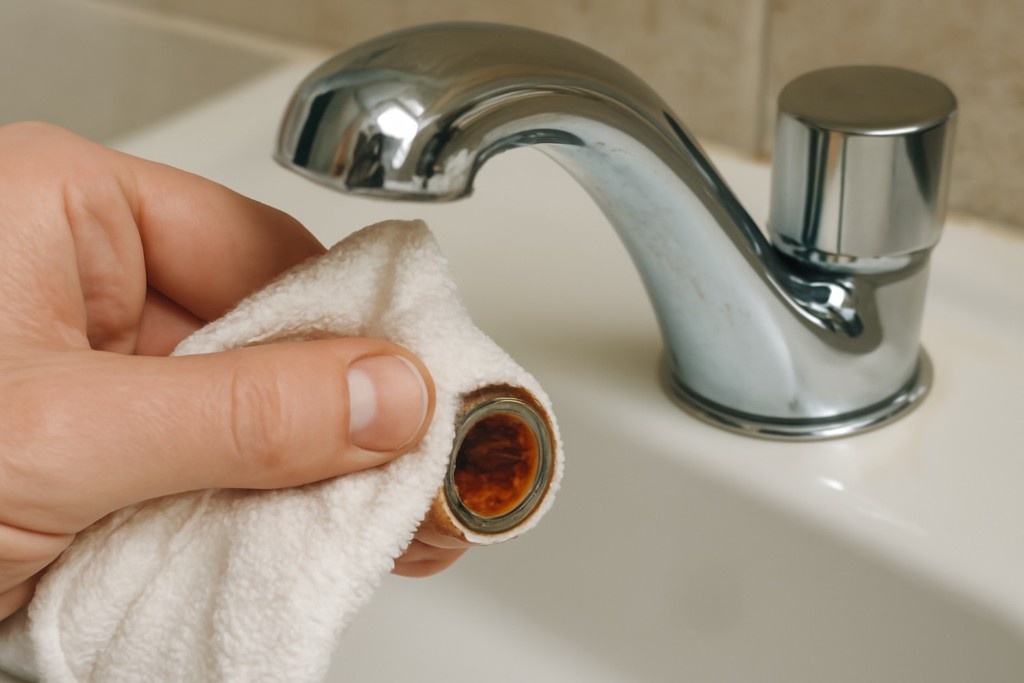
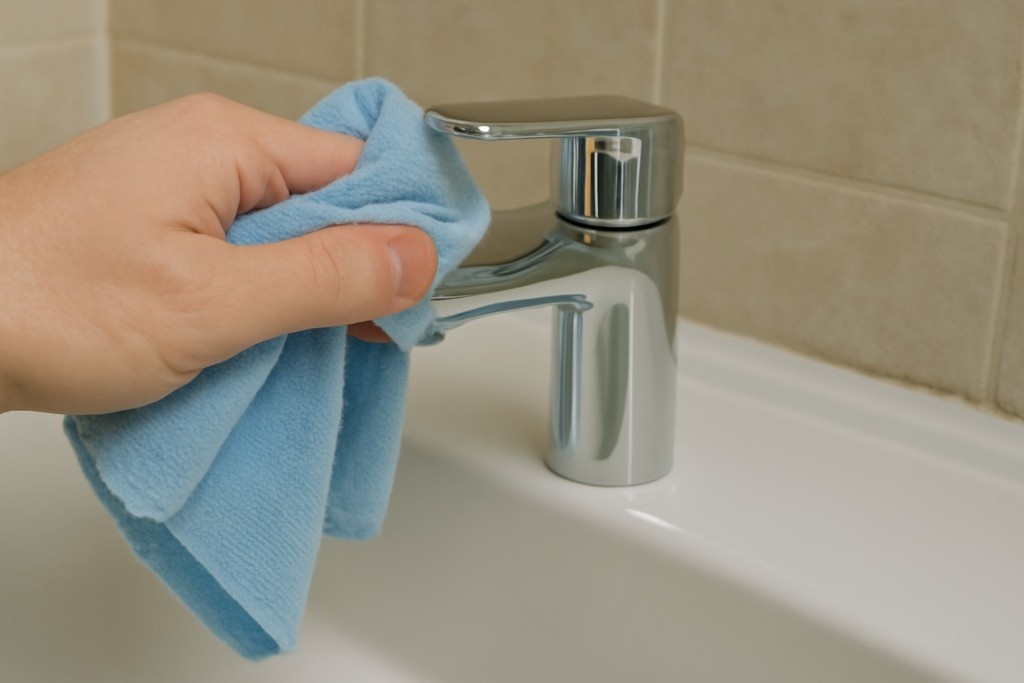
The valve seat is the metal surface where the faucet’s washer or O-ring makes contact. Over time, corrosion and mineral buildup from hard water can cause the valve seat to deteriorate, leading to a leaky faucet. To inspect the valve seat, use a clean cloth to wipe away any debris or buildup.
If the valve seat appears corroded or rough, it may need to be cleaned or replaced. You can use a valve seat dressing tool to smooth out minor corrosion or replace the seat entirely if the damage is too extensive. A well-maintained valve seat ensures a proper seal and prevents leaks.
7. Replace the Faucet Cartridge
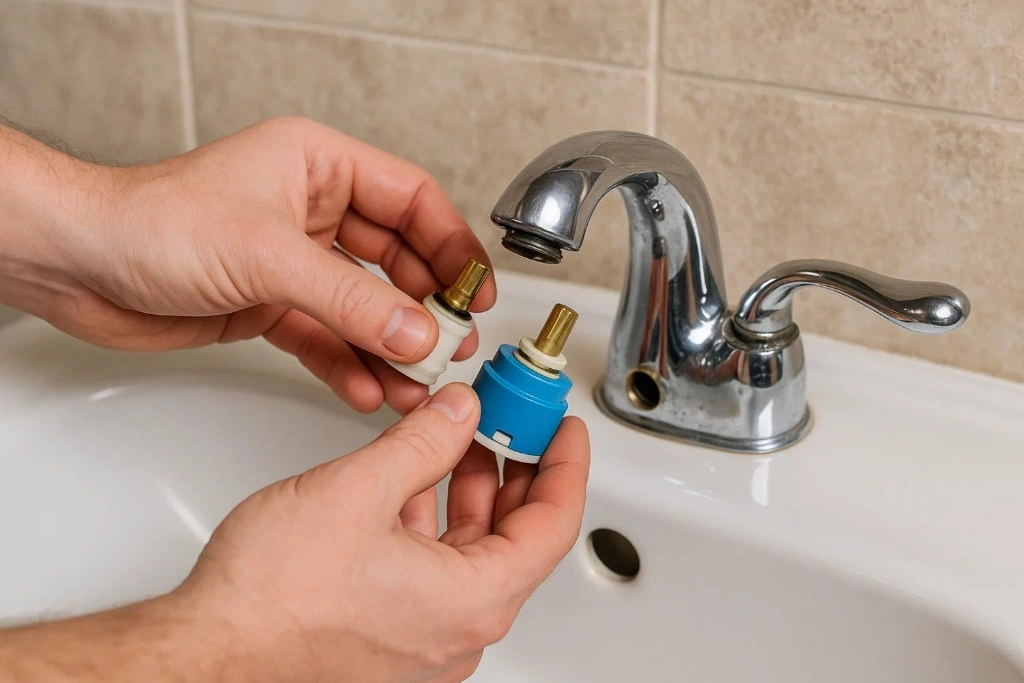
Cartridge faucets can develop leaks when the internal cartridge becomes worn or damaged. A faulty cartridge may cause water to flow unevenly or result in a constant drip. To replace the cartridge, first remove the handle and other internal components. Once exposed, carefully pull out the old cartridge and replace it with a new one.
Ensure the replacement cartridge matches the size and style of the original. In some cases, you might also need to lubricate the new cartridge before installation to ensure smooth operation. This simple fix can often resolve leaks in cartridge-style faucets.
8. Replace the Ball Mechanism
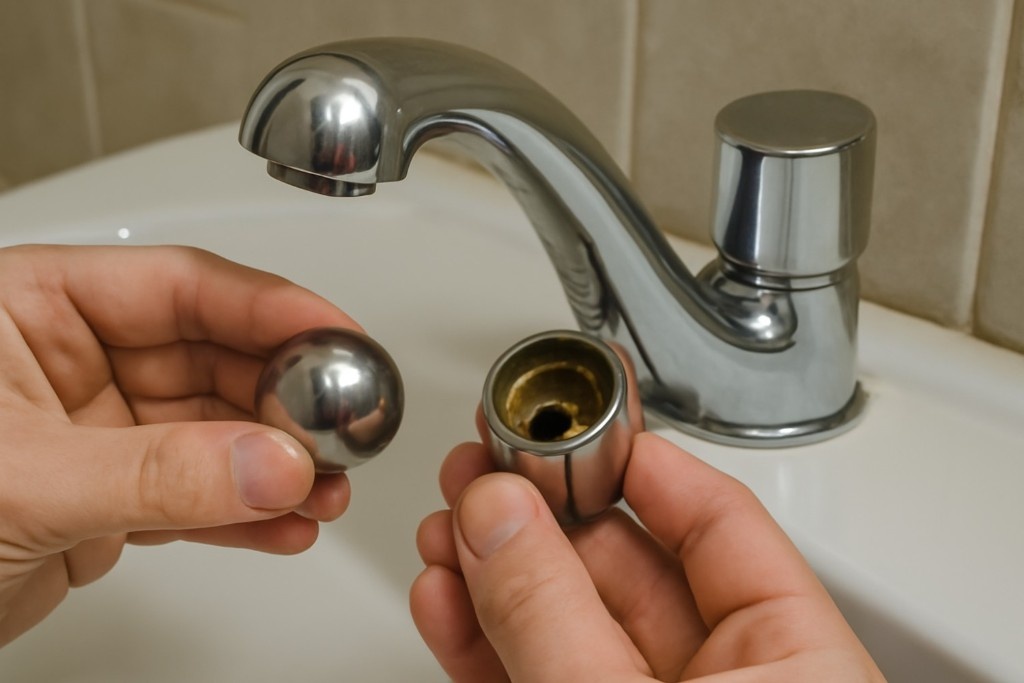
Ball faucets are another common type prone to leaks, especially when the internal ball mechanism is worn out. The ball controls water flow and temperature, and over time, it can become misaligned or corroded. To replace the ball mechanism, disassemble the faucet to access the internal components.
Remove the old ball and inspect the seals and springs, as these parts often wear out with the ball. Replace the ball with a new one, ensuring it’s properly aligned. Once everything is reassembled, test the faucet to check if the leak has stopped and that water flows correctly.
9. Tighten Loose Parts
If your faucet continues to leak even after replacing the washers or cartridges, check for loose parts. Loose fittings and screws can cause water to leak around the faucet components. Inspect the faucet assembly to ensure that all screws are tightened properly.
Be cautious not to overtighten, as this can damage delicate parts like washers or the faucet body itself. Using an adjustable wrench or pliers, tighten any loose connections. If you find that certain parts are stripped or damaged, replace them before reassembling the faucet. Tightening all components ensures a secure seal and prevents future leaks.
10. Clean the Faucet Components
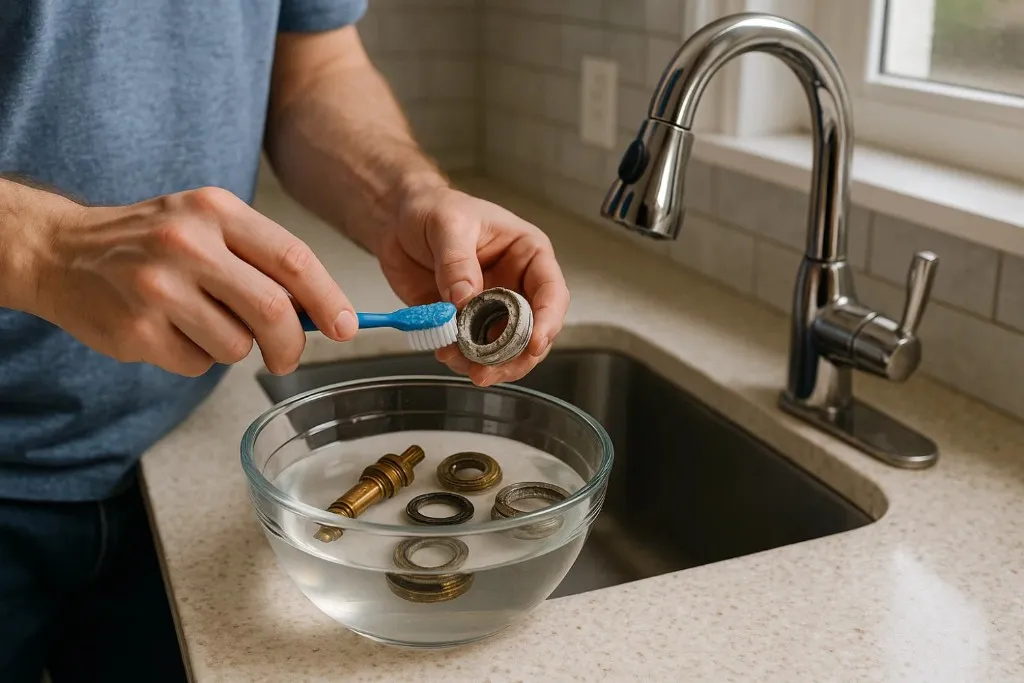
Mineral buildup from hard water can clog and damage the internal parts of your faucet, leading to leaks. Over time, mineral deposits can build up on washers, valves, and other faucet components. To clean these parts, soak them in a mixture of vinegar and water. The vinegar helps dissolve mineral deposits and soften any stubborn buildup.
After soaking for about 15-20 minutes, scrub the components gently with a soft brush to remove any remaining residue. Once cleaned, rinse the parts thoroughly before reassembling the faucet. Regular cleaning can help prevent future leaks caused by mineral deposits.
11. Reassemble the Faucet
Once you’ve replaced any worn or damaged parts, carefully reassemble the faucet. Start by reattaching the inner components, including washers, O-rings, or cartridges, and ensure they are seated correctly. Follow the reverse order of disassembly to ensure proper reassembly. Secure the handle back into place with the screw that you removed earlier.
Tighten all components gently but firmly to avoid damaging any parts. After the faucet is fully reassembled, double-check that everything is aligned and secure. This careful reassembly will ensure a tight seal and prevent any future leaks from occurring.
12. Turn the Water Supply Back On
Once you’ve reassembled the faucet, it’s time to turn the water supply back on. Slowly open the shut-off valve to allow water to flow back into the faucet. Turn the faucet on and check for leaks. If everything is functioning properly, the leak should be gone, and the water flow should be smooth.
However, if you notice any drips or inconsistent water pressure, turn the water off again and inspect the faucet for any parts that might need further adjustment or replacement. Test the faucet thoroughly before considering the repair complete.
13. Perform a Leak Test
After turning the water back on, perform a leak test to ensure the faucet is functioning correctly. Check around the faucet base and handle for any signs of drips or moisture. If you notice any leakage, tighten the components slightly to see if that resolves the issue.
If the leak persists, disassemble the faucet again to double-check that all parts are properly installed and there are no damaged components. Sometimes a small adjustment or replacement part is all it takes to completely stop the leak. Repeat the process until the faucet is completely dry.
14. Consider Replacing the Faucet
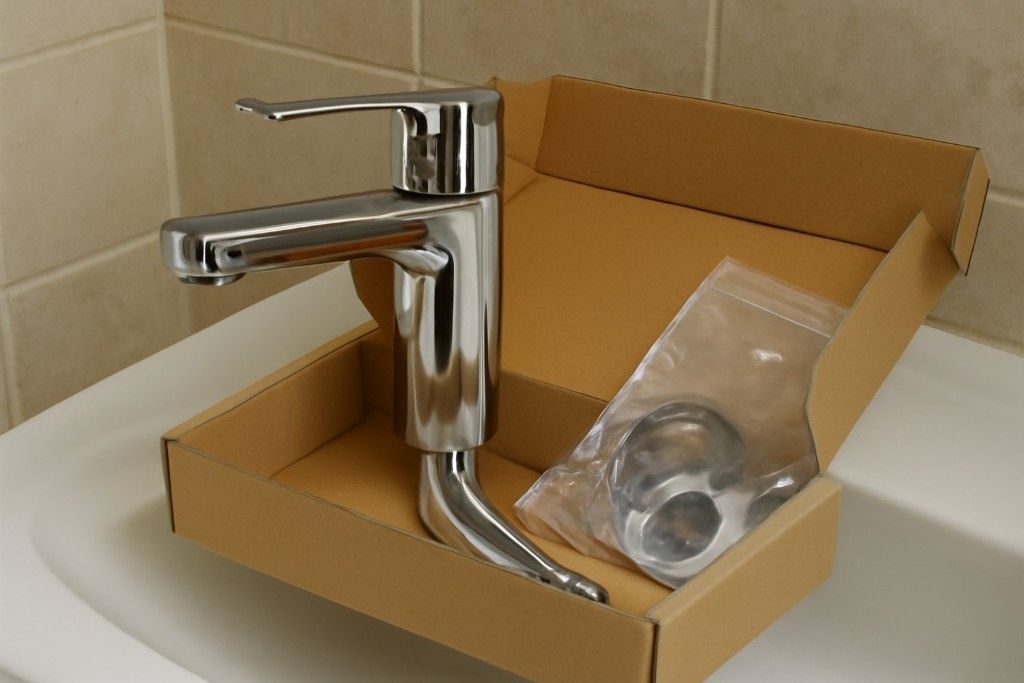
If, after all your repairs, the faucet continues to leak, it may be time to consider replacing the entire unit. Faucets that have been in use for many years may have internal parts that are too worn or corroded to repair effectively.
In some cases, the cost of parts and labor might exceed the cost of a new faucet. If you’ve tried all possible repairs and the faucet still leaks, upgrading to a new model could be a more cost-effective and long-term solution. Choose a high-quality faucet that suits your style and budget, ensuring it’s easy to maintain.
15. Prevent Future Leaks
To prevent future leaks, perform regular maintenance on your faucets. Check for signs of wear on washers, O-rings, and other internal components, replacing them before they cause leaks. Cleaning the faucet regularly helps prevent the buildup of mineral deposits, which can cause damage over time.
If you have hard water, consider installing a water softener to reduce mineral buildup. Regular maintenance and prompt repairs can extend the lifespan of your faucets and help you avoid annoying leaks in the future. Stay proactive to keep your faucets in top condition and conserve water.