A new landscape hides more than soil and shrubs—it quietly shapes energy bills, resale appeal, maintenance time, and everyday comfort. Small, strategic moves multiply: redirecting runoff, choosing plants that thrive without coaxing, and placing shade where it pays you back. These under-the-radar techniques prioritize longevity over weekend heroics, turning “first yard” stress into steady gains. Use the ideas below to plan once, then enjoy for years.
1. Decode Your Site: Zones and Microclimates
Before planting, learn the site’s baseline limits. Use the USDA Plant Hardiness Zone Map to understand minimum winter temperatures, then walk the property at different times of day. Note heat‑reflecting walls, wind tunnels between houses, cold pockets where frost lingers, and soggy or fast‑draining spots.
These microclimates often matter more than regional averages. Put frost‑tender herbs by a south‑facing wall, and site moisture lovers where downspouts release water. Matching plant genetics to site reality prevents replacements, cuts watering, and helps new landscapes establish faster. Record patterns on a simple sketch to guide placements. (source)
2. Map First, Dig Later: Call 811

Draw a simple base map before moving a shovel. Measure house walls, patios, property lines, doors, hose bibs, and downspouts, then sketch sun paths and views you want to keep or screen. Overlay utilities and irrigation runs if present. Crucially, schedule an underground utility locate—dial 811—so buried gas, power, cable, and water lines are marked free of charge.
That knowledge steers tree placement, prevents dangerous strikes, and saves costly reroutes later. Keep the map handy; it becomes your living plan for plant spacing, lighting, and future hardscape additions. Update it after every change. (source)
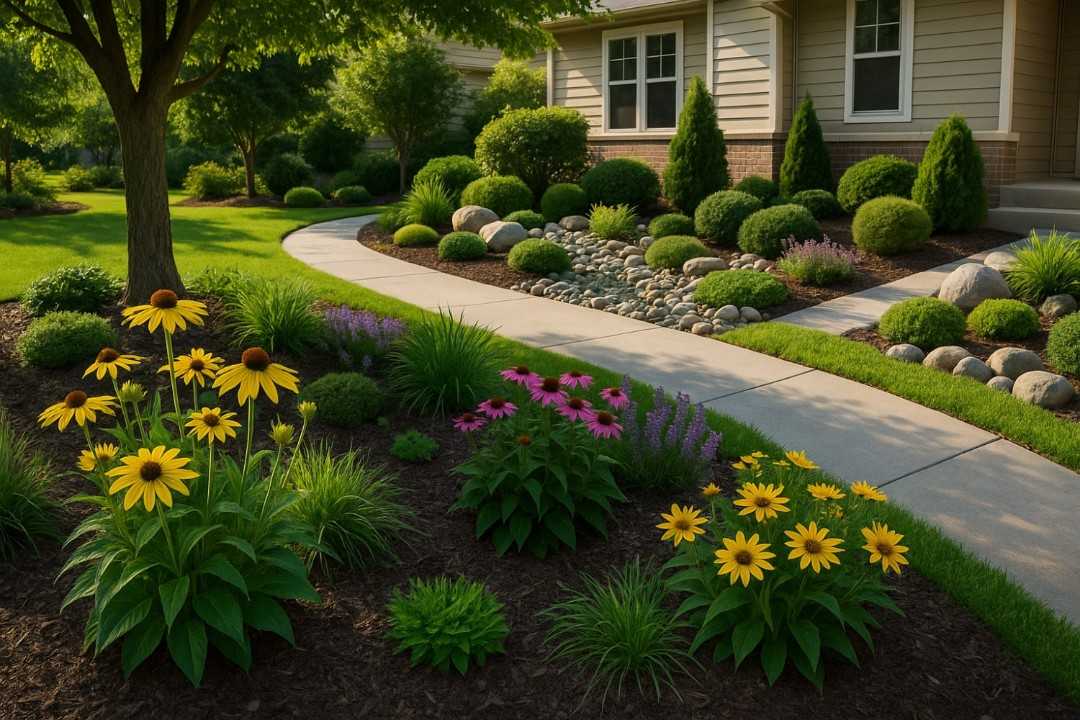
3. Build in Layers for Structure
Think in layers to create depth, shade, and low maintenance. Start with the tallest canopy trees for structure, add understory trees to frame views, then place evergreen and deciduous shrubs for seasonal contrast. Fill gaps with herbaceous perennials, ornamental grasses, and finally groundcovers to knit soil and suppress weeds.
Layering reduces irrigation by shading roots and cuts mulch costs over time. It also makes a small yard feel larger by staging focal points from back to front. Sketch each layer on tracing paper to test sightlines before you plant.
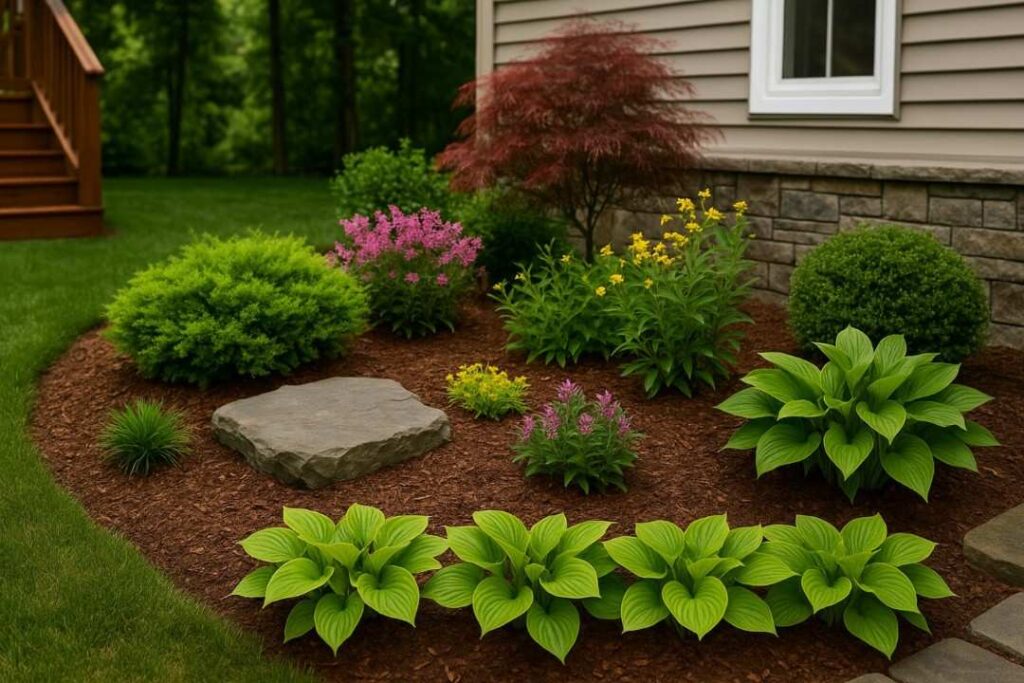
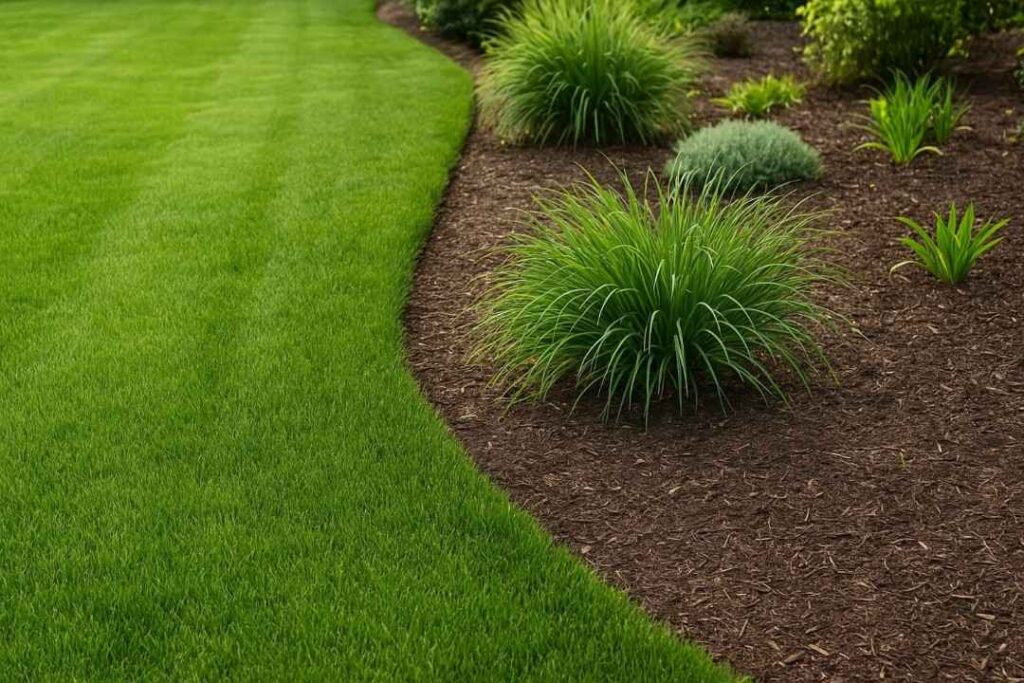
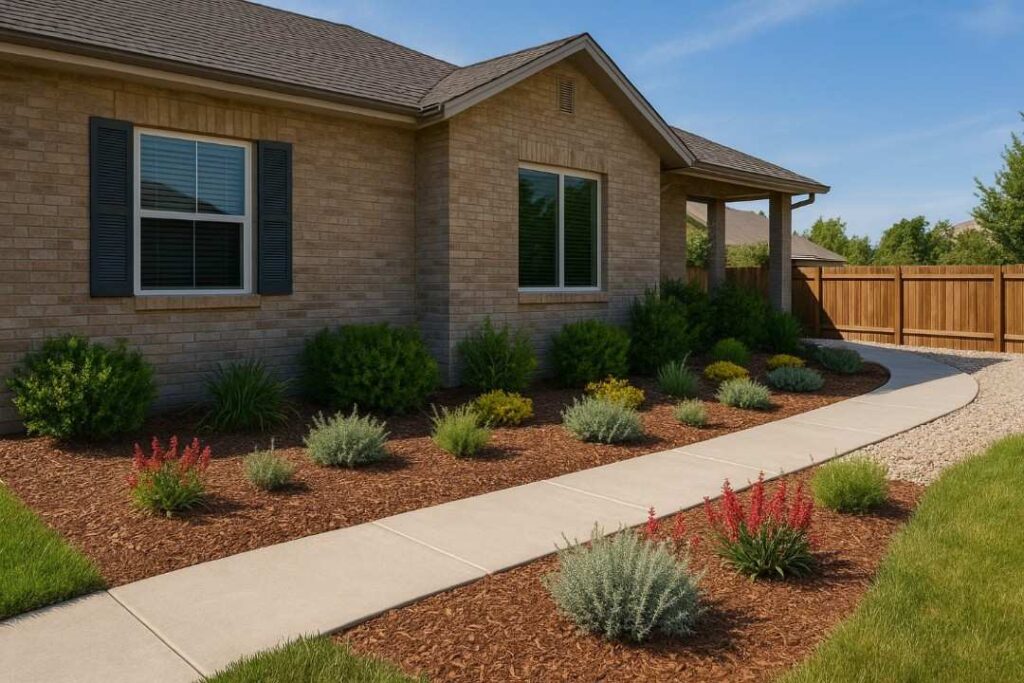
4. Master Mulch: Depth and Placement
Mulch is a quiet workhorse when used correctly. Aim for a consistent two to three inches over soil—not against trunks—and think donut, not volcano. Wood chips or shredded bark moderate temperature swings, conserve moisture, and slow weeds.
In beds with perennials and shrubs, coarse chips last longer; in vegetable plots, straw and leaf mold break down faster to enrich soil. Refresh only the thinned areas instead of dumping new layers each spring. Proper depth prevents rot and allows air to reach roots, reducing disease risk. Always keep mulch a few inches back from house foundations. (source)
5. Go Native for Low‑Maintenance Wins
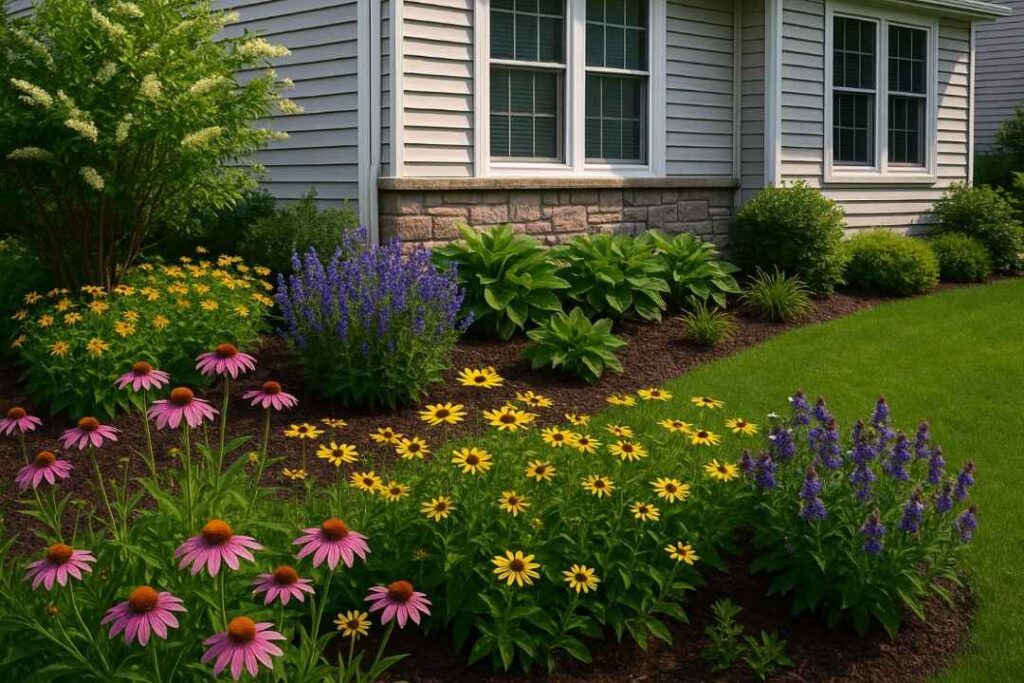
Hidden trick: make the site do the heavy lifting by choosing locally adapted natives. Native plants evolved with your climate and soils, so they typically need less supplemental water and fewer inputs once established. They also support pollinators and songbirds that struggle in purely ornamental plantings.
Start with a small pilot bed and observe which species thrive with minimal care, then repeat winners elsewhere. Mix bloom times for season‑long color and ecological value. Use the USDA PLANTS Database to confirm ranges and select cultivars that fit your space. Avoid aggressive spreaders near tiny beds. (source)
6. Right Tree, Right Place
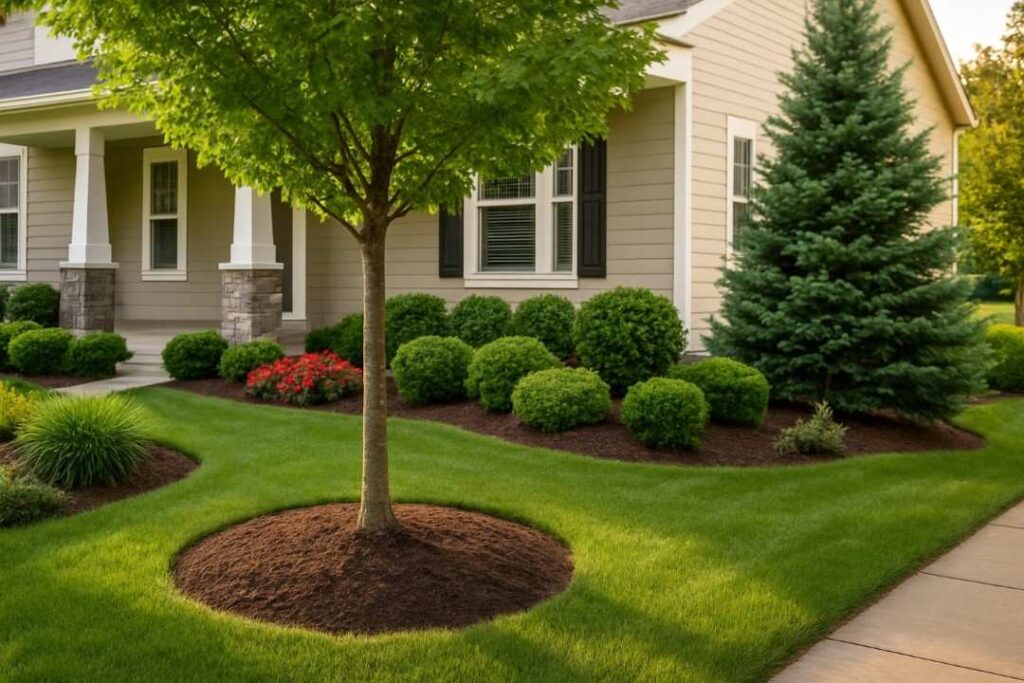
Trees are long‑term infrastructure; place them like assets. Check mature height, canopy spread, and root vigor, then compare with sidewalks, driveways, overhead lines, and neighboring windows. Choose columnar forms for tight side yards, and broad crowns to shade patios. Plant outside the dripline of existing trees to avoid root damage, and locate new trees far enough from foundations to prevent conflicts.
Remember fall color, fragrance, and messiness—fruiting varieties may not suit high‑traffic entries. Confirm setbacks or street‑tree lists with your municipality. A thoughtful match saves pruning, prevents utility conflicts, and delivers cooling exactly where it’s needed. (source)
7. Upgrade to Drip and Micro‑Irrigation
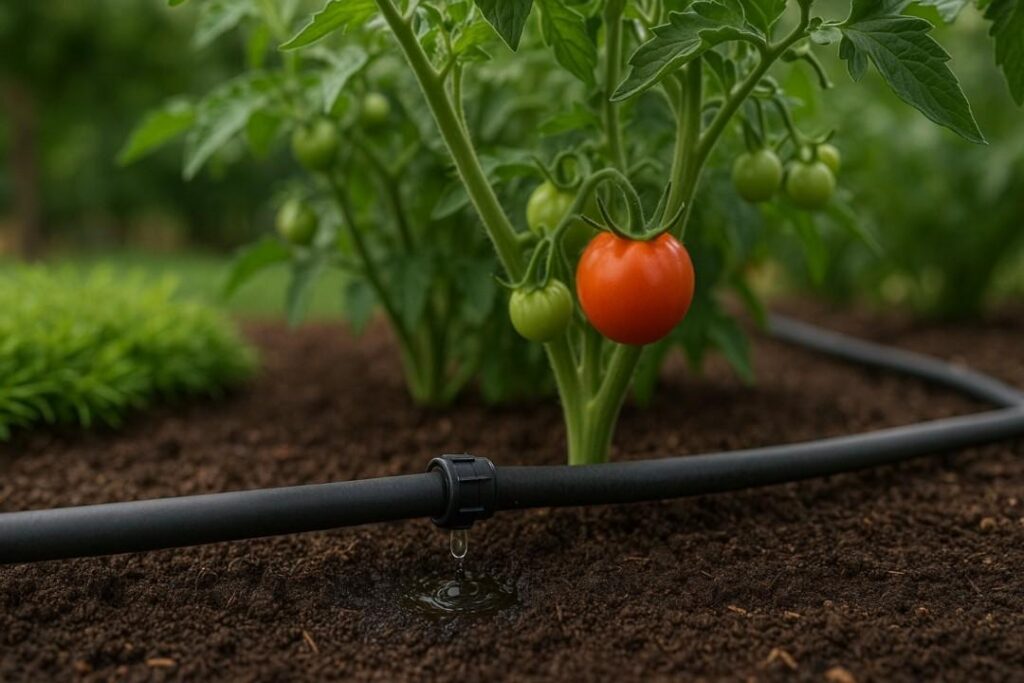
Drip and micro‑sprays deliver water slowly at the root zone, reducing evaporation and overspray on walls or sidewalks. Convert thirsty narrow strips and foundation beds first; those areas waste the most with sprinklers. Run lines under mulch to shield tubing from sun, and include pressure regulators and filters for consistent output.
Water longer but less frequently to encourage deep roots, then adjust seasonally. Pair the system with a WaterSense‑labeled, weather‑based controller to skip cycles after rain. The payoff is healthier plants and smaller bills without sacrificing appearance. Flush lines annually to clear sediment. (source)
8. Install a Rain Garden to Tame Runoff
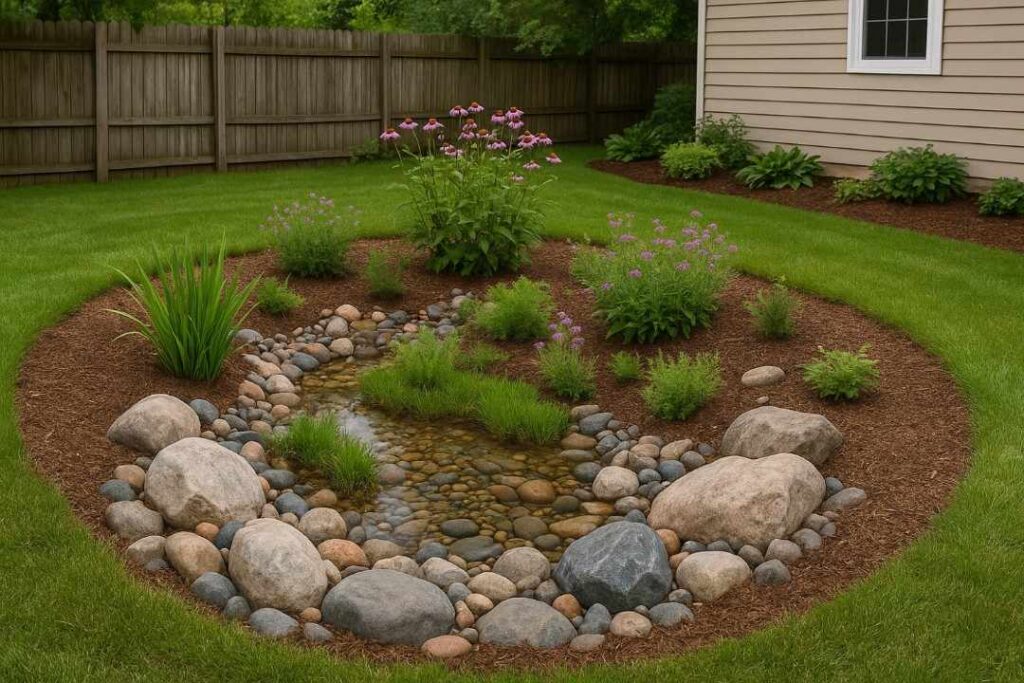
Direct roof and driveway runoff into a shallow, planted basin to slow, soak, and filter stormwater. A rain garden protects foundations, reduces puddles, and turns a drainage problem into a pollinator patch. Place it at least ten feet from buildings, size it to typical storms, and use a mix of deep‑rooted natives tolerant of wet‑to‑dry cycles.
Layer in river rock at inlets to dissipate flow and add overflow paths for rare deluges. Test percolation before digging; very slow soils may require an underdrain. Avoid routing flows from septic or heavily fertilized areas.
9. Choose Permeable Paving Where It Counts
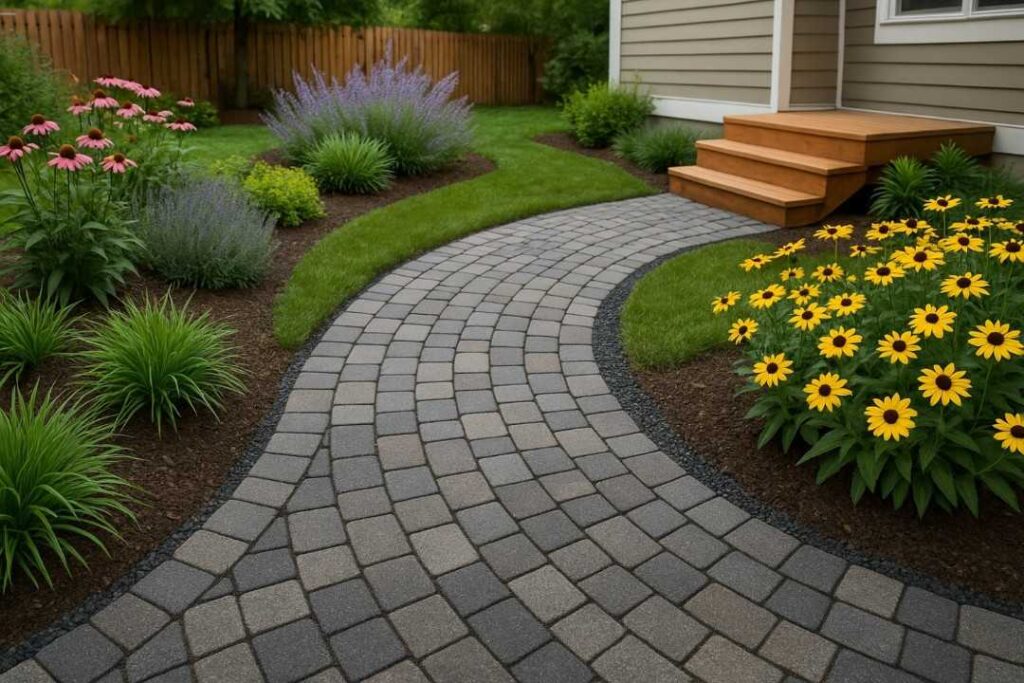
Replace small sections of impervious hardscape with permeable options that let rain pass through. Permeable pavers, porous asphalt, and pervious concrete reduce runoff, recharge groundwater, and limit icing by draining quickly. They work best over well‑graded, layered aggregate bases that store water temporarily.
Use them for driveway aprons, garden paths, and patios where soil compaction and puddles persist. Maintenance is simple: broom or vacuum occasionally to prevent clogging. In snowy regions, deicing needs usually drop because water doesn’t sit on the surface. Check local codes for allowable areas and base depths.
10. Test Soil, Then Amend With Precision
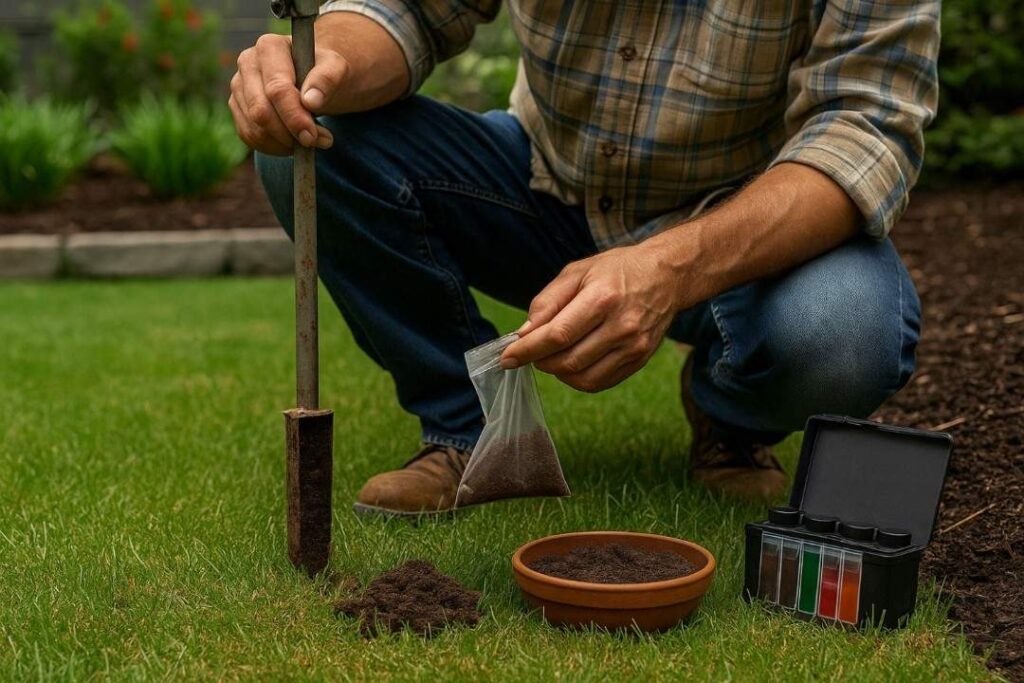
Skip guesswork by testing soil before amending. A basic lab report reveals pH, organic matter, and nutrient levels, then recommends precise rates for lime or fertilizer. That prevents over‑application, saves money, and protects nearby waterways. Collect several small cores from planting areas, mix them in a clean bucket, and submit a composite sample.
Re‑test every few years or after major changes. Use amendments to correct deficits, then shift to compost and mulches to maintain fertility naturally. Many state universities offer affordable, mail‑in kits with clear instructions. Label each sample with the intended plant type. (source)
11. Raise Mower Height and Ditch Plastic Edging
A higher mowing height quietly solves many lawn problems. Set cool‑season grasses around three inches to shade soil, discourage weeds, and encourage deeper roots. Sharpen blades for clean cuts, and follow the one‑third rule—never remove more than a third of the blade at once.
Define beds with a spade‑cut edge instead of plastic edging to keep lines crisp while allowing easy adjustments. Leave grass clippings to recycle nutrients unless disease is active. Combine these practices and watering deeply but infrequently to shift the lawn toward resilience instead of constant rescue. (source)
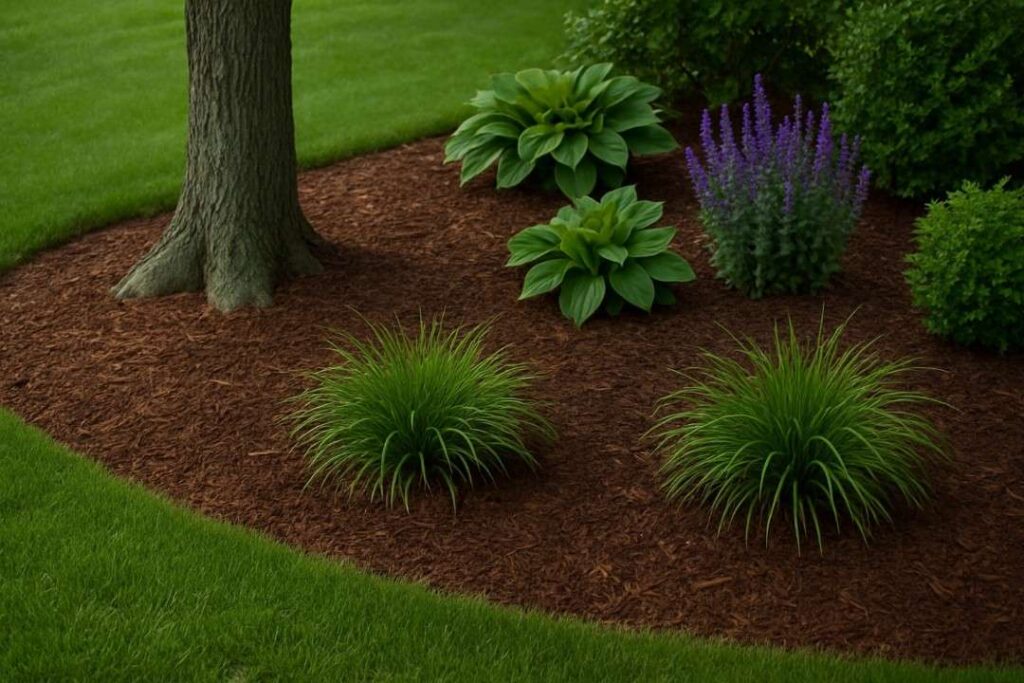
12. Use Living Groundcovers Instead of Endless Mulch
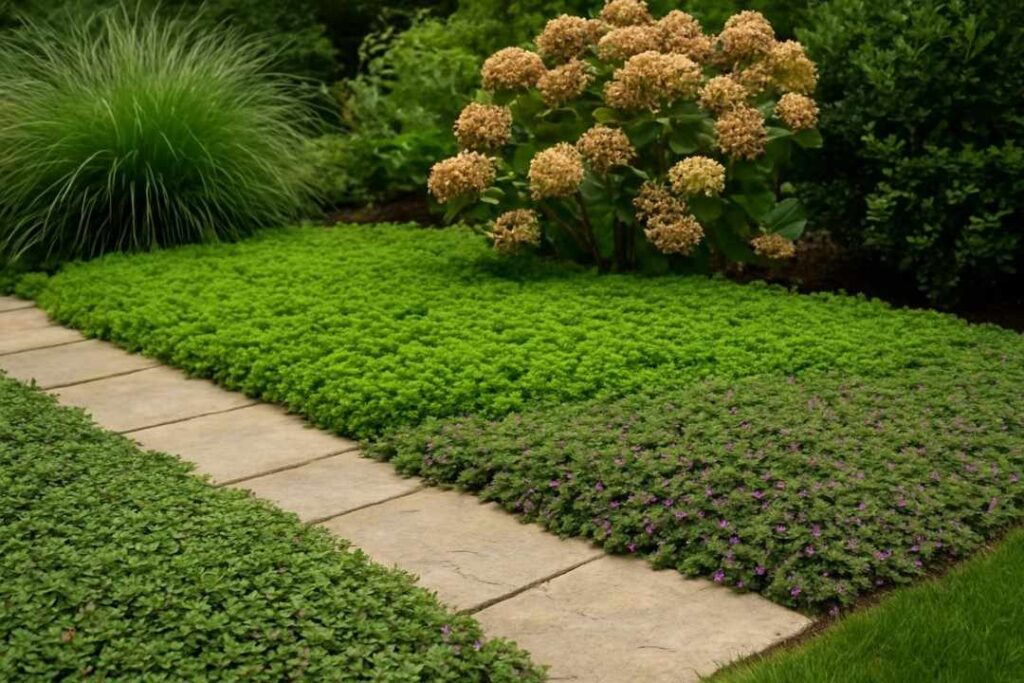
In beds that always seem to need fresh mulch, plant living groundcovers to do the job once. Low, spreading species like Ajuga, Pachysandra, mondo grass, or native sedges knit soil, cool roots, and block weeds better than loose material. Use them along paths, under open shrubs, and on gentle slopes where erosion starts.
Space closer than the tag suggests if quick coverage is the goal, and irrigate during establishment. Combine contrasting textures for a designed look—broad leaves against fine blades—so utilitarian areas still feel intentional and polished. Avoid invasive species in sensitive regions. (source)
13. Plant Shade Where It Cuts Cooling Loads
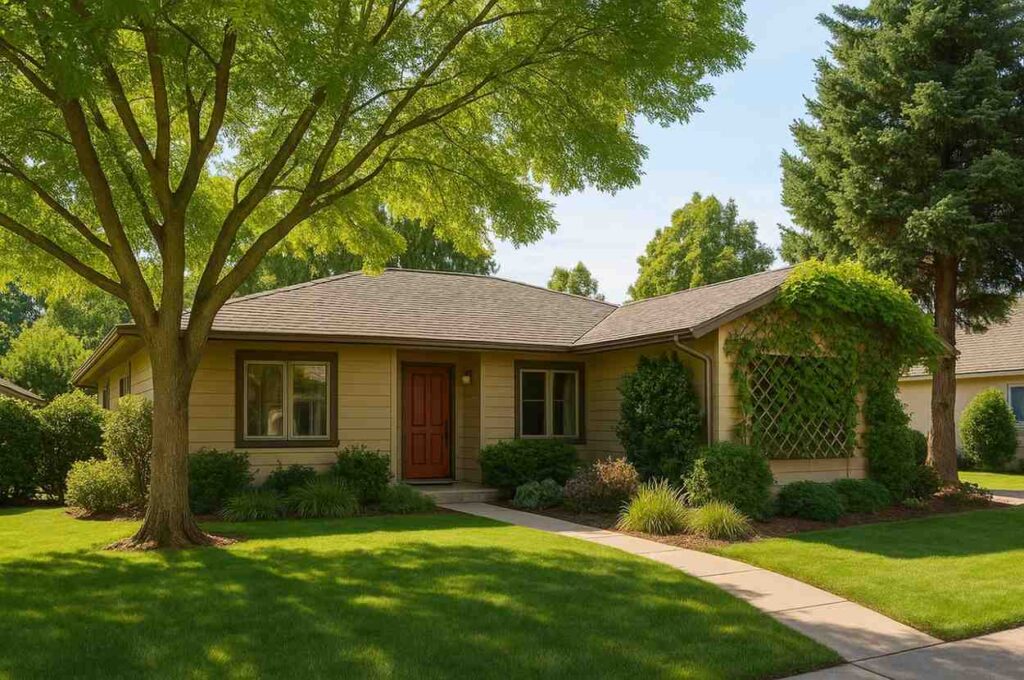
Strategic shade lowers cooling bills without touching the thermostat. Deciduous trees on the south and west block high summer sun yet allow winter light after leaves drop; evergreens to the north and northwest can deflect prevailing winds. Shade air‑conditioning condensers to boost efficiency, and use trellised vines for fast shade where tree roots would conflict with paving.
Keep mature sizes in mind so canopies clear roofs and lines. Combine shading with reflective hardscape colors near windows to reduce heat gain even further. Small placement decisions cascade into measurable energy savings.
14. Design for Defensible Space in Fire‑Prone Areas
If your property borders wildland, design defensible space from day one. Create a lean, clean, and green zone within five feet of structures—no wood mulch, stacked firewood, or dense shrubs. From five to thirty feet, space plants and prune ladder fuels to keep flames on the ground.
Choose high‑moisture, low‑resin species near buildings and maintain clearances around decks and vents. Keep gutters free of debris and use ember‑resistant screens. Review local requirements before replacing fencing or roofing. These steps quietly improve curb appeal while reducing wildfire risk for the whole street.
15. Use IPM: Smarter Pest Control, Fewer Chemicals

Adopt integrated pest management so problems shrink over time instead of rebounding. Start by identifying the pest accurately, then adjust cultural conditions—watering, mowing height, plant spacing—before considering controls. Encourage beneficial insects with diverse plantings and avoid blanket sprays that harm them.
When intervention is necessary, choose the least‑toxic option targeted to the pest and apply precisely, at the right life stage. Monitor results and keep notes; patterns emerge across seasons. This measured approach protects kids, pets, pollinators, and waterways while maintaining a landscape that still looks polished. Preventive care beats crisis spraying. (source)